After two weeks of a perfect gel manicure, a tiny edge lifted on my thumbnail. I looked at it. I knew better. But it was late, I was tired, and instead of reaching for the acetone, I reached for the edge and peeled.
The strip came off in one satisfying piece—along with several layers of my natural nail underneath. My thumb was left thin, sensitive, and red. It took four months to grow out fully.
That was the last time I ever peeled off gel polish.
Here’s everything I’ve learned about removing semi-permanent polish the right way—safely, completely, and without harming the nails underneath.
Why Proper Removal Matters
Let’s start with a simple truth: gel polish is designed to be durable. It chemically bonds to your nail through polymerization. That strength is what gives you two weeks of chip-free wear.
When you peel it off, you’re not just removing polish. You’re ripping off layers of your natural nail plate. Those layers don’t grow back overnight. The result is:
- Thin, weak nails that bend and tear easily
- Sensitivity and pain when applying new polish
- Peeling and flaking that can take months to recover
- Increased risk of infection from damaged tissue
What You’ll Need: The Essential Tools
Before starting, gather these supplies. Skipping any makes removal harder and increases the temptation to pick.
- Pure acetone. Not “acetone-free remover.” Not “gel polish remover.” Pure acetone (100%) is what dissolves gel. Drugstore brands work fine.
- Cotton balls or pads. 100% cotton. Lint-free wipes are better but not required.
- Aluminum foil. Cut into 10 squares, roughly 3×3 inches. Large enough to wrap around each fingertip.
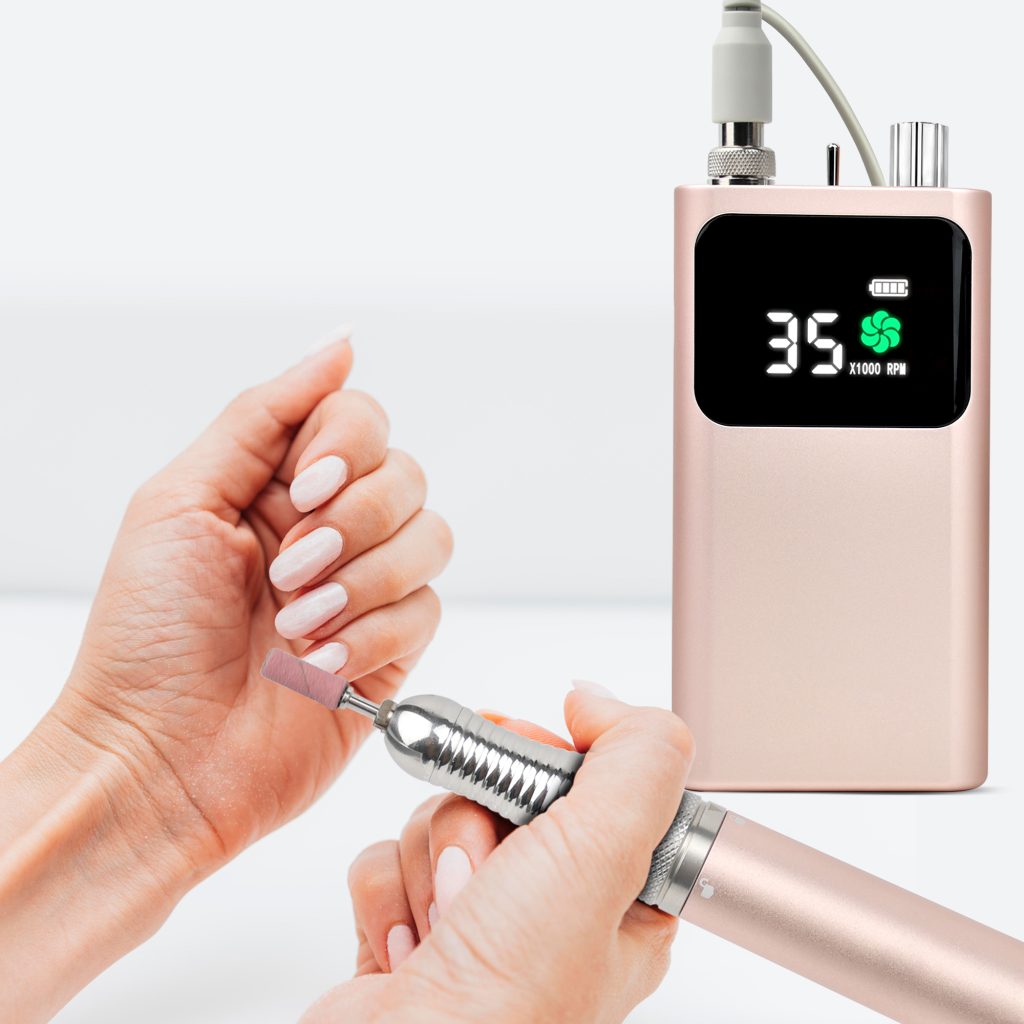
- Nail file or e-file. Medium grit (180-240). For breaking the seal.
- Cuticle pusher or orangewood stick. For gently pushing off softened gel. Wood is gentler than metal.
- Nail buffer. Fine grit for final smoothing.
- Cuticle oil. For post-removal hydration.
- Hand cream. Acetone dries out skin. Recovery matters.
- Bowl of warm water. Optional, for warming acetone (never microwave it—flammable).
Step-by-Step Removal: The Foil Wrap Method
This is the method professionals use and the safest for at-home removal.
Step 1: Break the Seal
Before acetone can work, you must break through the top coat. Use your nail file or e-file to gently buff the shiny surface off each nail. You’re not trying to remove all the color—just rough up the surface so acetone can penetrate.
Why this matters: The top coat is the most durable layer. Acetone can’t easily get through it without filing first.
Step 2: Soak Cotton
Saturate a cotton ball or pad with pure acetone. It should be wet but not dripping. Place it directly on your nail, covering the entire surface.
Step 3: Wrap in Foil
Wrap a foil square tightly around your fingertip, holding the cotton in place. The foil should be snug enough to stay put but not so tight it cuts off circulation.
Repeat for all ten fingers.
Step 4: Wait
Set a timer for 10-15 minutes. This is the hardest part—don’t peek. Every time you unwrap, you release the acetone and slow the process.
Pro tip: Use this time to relax. Read, watch something, or just sit. Warmth speeds the reaction—wrapping your hands in a towel or placing them under a heating pad (low setting) can help.
Step 5: Check One Nail
After 10-15 minutes, unwrap one finger and gently test with your cuticle pusher. The gel should slide off easily with light pressure. If it resists, rewrap and wait 5 more minutes.
Step 6: Gently Push, Never Scrape
Hold your pusher at a low angle and gently push the softened gel toward the tip of the nail. It should come off in soft pieces or sheets.
The golden rule: If you’re scraping, forcing, or working hard, stop. You’re damaging your nail. Rewrap and wait longer.
Step 7: Remove Residue
For any remaining bits, lightly buff with a fine-grit nail buffer. Don’t aggressively file—just smooth.
Step 8: Wash and Hydrate Immediately
As soon as all gel is removed, wash your hands with soap and water to remove acetone residue. Then apply cuticle oil generously to every nail. Follow with hand cream.
Alternative Method: The Acetone Soak
Some people prefer soaking directly in acetone. This works well for multiple nails at once.
What you need: A small bowl of pure acetone, a larger bowl of warm water (to warm the acetone), timer.
Steps:
1. File off top layers as above.
2. Pour acetone into small bowl, place inside larger bowl of warm water.
3. Soak fingertips for 10-15 minutes.
4. Remove and gently push off gel as above.
5. Rinse and hydrate.
Downside: This exposes more skin to acetone, which can be drying. Foil wraps contain the acetone to just nails.
What to Do If Gel Won’t Come Off
Sometimes gel is stubborn. Here’s why and what to do:
You didn’t file enough. Go back with a coarser file and really break that top layer.
Your acetone is old or weak. Acetone absorbs water from the air over time. Fresh acetone works best.
You have hard gel, not soft gel. Some builder gels and hard gels don’t soak off—they require filing. If soaking does nothing after 20 minutes, you may need professional removal.
You weren’t patient enough. Rewrap and wait longer. Some polishes need 20-25 minutes.
Common Mistakes That Damage Nails
Peeling or picking. The number one cause of nail damage. Never.
Scraping aggressively. If you’re working hard, you’re damaging your nail. Let acetone do the work.
Skipping the file step. Acetone alone won’t penetrate an intact top coat. Always file first.
Using non-acetone removers. They won’t dissolve gel. You need pure acetone.
Rushing the wait time. Ten minutes minimum. Fifteen is better. Impatience leads to scraping.
Using metal tools aggressively. Metal pushers at the wrong angle gouge nails. Use light pressure and low angles, or switch to wood.
Forgetting hydration. Acetone dehydrates everything. Oil immediately after and throughout the following days.
Post-Removal Care: Restoring Your Nails
Removal is only half the process. What you do afterward matters just as much:
Apply cuticle oil immediately. Every nail, generously. Massage in.
Use hand cream throughout the day. Acetone-stripped skin needs constant moisture.
Keep nails short for a few days. Freshly exposed nails are more prone to breaking.
Avoid filing aggressively. Your nails are slightly softer after soaking. Wait a day before major shaping.
Consider a break. Give your nails 24-48 hours before applying new gel. This allows them to rehydrate and recover.
Watch for signs of damage. If nails feel thin, burn when you apply polish, or show peeling, give them a longer break. Use a keratin treatment or strengthener during recovery.
Frequently Asked Questions
How often should I remove gel?
Every 2-3 weeks, depending on growth. Don’t leave gel on for months—it can lift and trap moisture underneath.
Can I reuse foil wraps?
Fresh foil each time is easiest. Removal clips are reusable and less messy.
Does acetone damage nails?
Acetone dries out nails temporarily but doesn’t permanently damage them if used correctly and followed by moisturizing. The damage comes from mechanical actions (scraping, peeling), not the acetone itself.
What if I’m allergic to acetone?
True acetone allergies are rare. If your skin reacts, try foil wraps (which minimize skin contact) or consult a dermatologist.
Can I remove gel with regular nail polish remover?
No. Non-acetone removers won’t dissolve gel polish. You need pure acetone.
The Bottom Line
Removing semi-permanent polish correctly takes patience. Fifteen minutes of waiting plus gentle pushing beats fifteen seconds of peeling plus months of damaged nails.
Think of removal as part of your nail care routine, not an annoying obstacle. Your nails grow slowly—each layer takes months to fully replace. Protecting them during removal protects months of growth.
Take the time. Do it right. Your nails will thank you.
Read also: The Ultimate Guide to Foot Spa: Why Your Feet Deserve This Care
Related Posts